.NET SDK
Nimbbl client .NET API
The API follows the following practices.
- Options are passed as Objects instead of multiple arguments wherever possible
- All requests and responses are communicated over JSON.
- A minimum of .Net 4.5 is required.
Installation
From NuGet
Install-Package Nimbbl.Sdk.Rest -Version 1.3.3
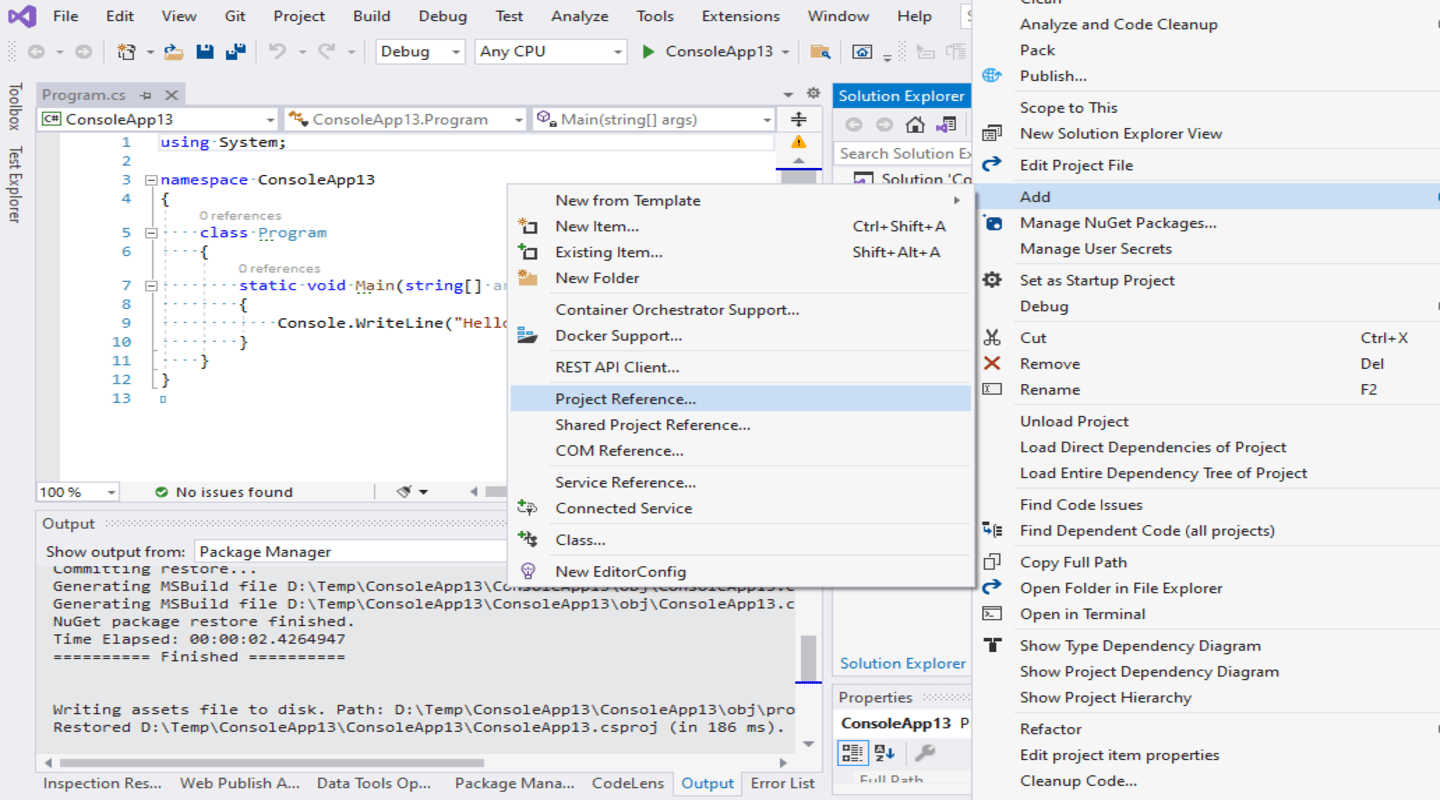
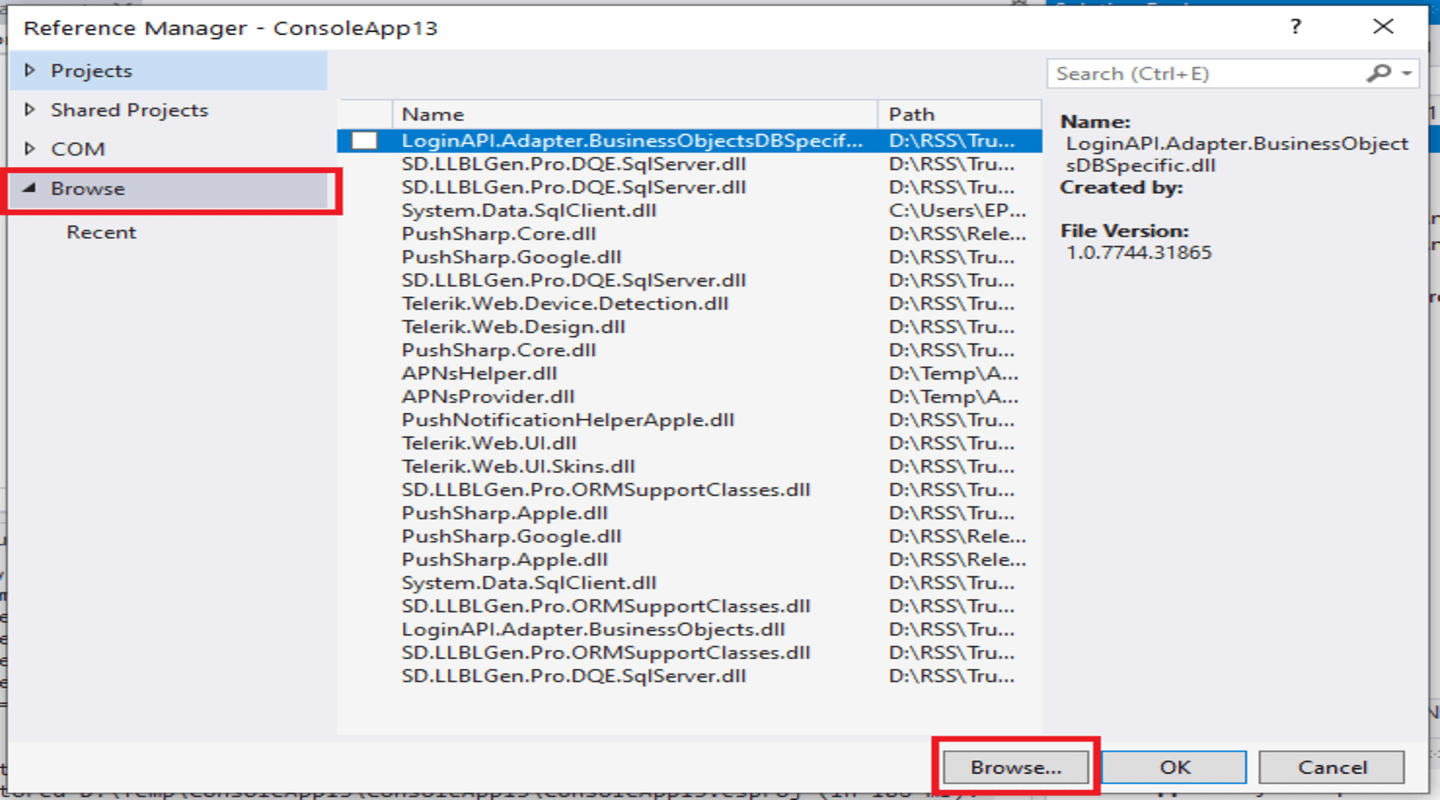
From DLL
Please reach out to us if you do not want to use NuGet and want to install manually
- Project -> Add Project Reference.
- Browse to the folder and Add.
Sample screenshot on how to add a reference to the DLL
Sample App
You can find the Gitlab link to the sample app here
Usage
On DotNet
Follow the below steps to create an order and fetch the order_id
- Import Nimbbl SDK
- Create Client
- Create Order Request Parameters.
- Pass the request parameters to create the order.
- Pass the order_id generated to the front end
Initialize
Imports Nimbbl.Sdk.Rest

Nimbbl.Sdk.Rest.INimbblClient client1 = new NimbblClient(new
Config("https://api.nimbbl.tech/api/", API_Key, API_Secret)); // You will get
the API_Key and API_Secret from dashboard.nimbbl.tech
Create Connection
Nimbbl.Sdk.Rest.INimbblClient client1 = new NimbblClient(new
Config("https://api.nimbbl.tech/api/", API_Key, API_Secret));
Create Order
var orderRequest = new OrderRequest();
orderRequest.AmountBeforeTax = 1;
orderRequest.Currency = "INR";
orderRequest.InvoiceId =
Convert.ToBase64String(Encoding.UTF8.GetBytes(Guid.NewGuid().ToString("n")));
//Invoice-ID should be unique
orderRequest.Tax = 0;
orderRequest.TotalAmount = 2;
orderRequest.ReferrerPlatform = "dotnet";
orderRequest.MerchantShopfrontDomain = "http://example.com";
orderRequest.User = new User();
orderRequest.User.Email = "test@gmail.com";
orderRequest.User.MobileNumber = "xxxxxxxxxx";
orderRequest.ShippingAddress = new ShippingAddress();
orderRequest.ShippingAddress.Address1 = "Address";
orderRequest.ShippingAddress.Street = "Street1";
orderRequest.ShippingAddress.Landmark = "Landmark 1";
orderRequest.ShippingAddress.Area = "Area 1";
orderRequest.ShippingAddress.City = "City 1";
orderRequest.ShippingAddress.State = "WB";
orderRequest.ShippingAddress.Pincode = "700095";
orderRequest.ShippingAddress.AddressType = "OFFICE";
// Console.Write()
Nimbbl.Sdk.Rest.Order order = client1.Orders.Create(orderRequest); // We will get an orderID as a response.
Pass Order to Frontend
//Pass ordeR_id as a label to the front end. The example below is for aspx
lblorderID.Text = order.OrderId
On Frontend
Follow the below steps to create an order and fetch the order_id
- Capture the order_id passed from backend
- Configure the Options to launch checkout
- Launch checkout.js
Capture Order_ID from backend
<asp:Label runat="server" ID="lblorderID"></asp:Label>
Configure the options and Launch Checkout
<script type="text/javascript"
src="https://api.nimbbl.tech/static/assets/js/checkout.js"></script>
<script type="text/javascript">
function helloWorld() {
var OrderID = document.getElementById('<%=lblorderID.ClientID%>').innerHTML;
alert(OrderID);
console.log(OrderID)
var order_id = OrderID
var options = {
"access_key": "YOUR KEY", // Enter the Key ID generated from the Dashboard
"order_id": OrderID, // Enter the order_id from the create-order api
"callback_handler": function (response) {
alert(response.nimbbl_transaction_id);
alert(response.nimbbl_order_id);
alert(response.nimbbl_signature);
alert(response.status);
if (response.status==="success")
{// Enter the call back url below
window.location.href = "www.callback.com" +
"?nimbbl_order_id=" + response.nimbbl_order_id +
"&nimbbl_transaction_id=" + response.nimbbl_transaction_id +
"&nimbbl_signature=" + response.nimbbl_signature +
"&status=" + response.status
}
}
};
window.checkout = new NimbblCheckout(options);
window.checkout.open(OrderID);// Launches the checkout
}
</script>